

Inspired by all the tassel earrings I've seen on the high-street, in particular these ones from New Look (see them here), I thought I'd have a go at making my own thriftier version. I'm actually super pleased with how they turned out, perfect for the party season! Mine cost around £3.50, and they're sterling silver - total bargain! This project will take a couple of hours, less time if you decide on fewer tassels; I got the process down to about 10 minutes per tassel, to give you an idea of how long it will take. This is definitely something you can make in front of the TV or while watching a festive film - make them as a gift or keep them for yourself. I can certify these earrings are so worth the extra effort of DIY-ing, rather than just buying a pair from a shop.
What you need:

Skeins of embroidery thread - I bought a pack of six (get them here). The number of skeins you use will depend on how many tassels you want, and what size you make them. I used four, plus an extra one for sewing up etc.
Earring findings - I bought them in sterling silver so they're kinder to my ears (for example, these ones here).
A tapestry needle (the eye needs to be big enough for the size of the thread).
A tape measure or ruler.
Card, cut to size, or any flat rectangular object which is the width you desire you tassel to be. You can just use your fingers is you want!
♡
Let's get started...
Step 1 - Carefully unravel the first embroidery thread and cut it in half (halving my skeins gave me four metres per tassel).

Step 2 - From a spare skein, cut two lengths of thread measuring around 15 cm, and two shorter lengths measuring about 10 cm. These will be used to make the first two tassels for the bottom of the earrings.


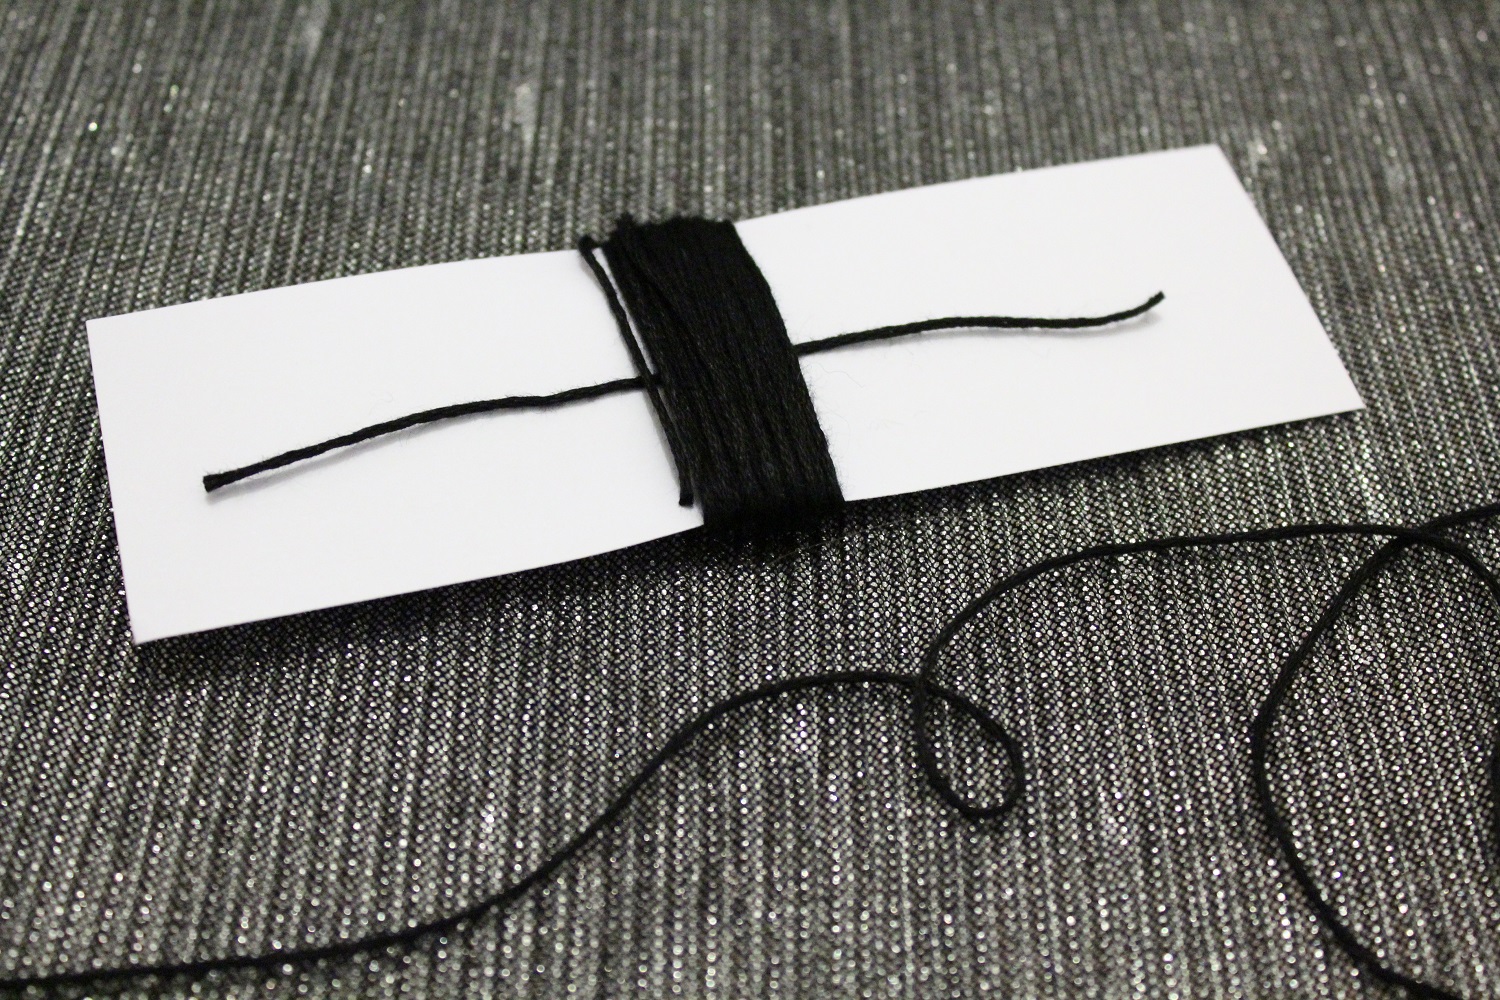
Step 3 - Lay the 10 cm piece of thread upon a piece of card which measures about 1.5 inches across. I decided on this width because I wanted the bottom two tassels slightly longer - you can choose any size, although the larger the tassel, the more thread will be needed.

Step 4 - Wrap your long piece of thread evenly around the card, trapping the short piece of thread underneath.

Step 5 - When done, tie the short piece of thread, trapped underneath, at the top of the piece of card. Slide the tassel off the card and double knot the short thread. Rotate the knot so the ends are hidden underneath.


Step 6 - Take the 15 cm piece of thread and wrap this around the top of the tassel, catching the start of the thread underneath and finishing off by creating a loop big enough to put the end of the thread through, pull tight. For extra security I used my needle to sew the end through the wrapped section and into the rest of the tassel.


Step 7 - Cut through the loops and give the bottom a little trim to even it up. Yay! One tassel made! Make another tassel this size.


Step 8 - Make six shorter tassels by repeating steps one to seven, however in step 3, wrap the long piece of thread around a piece of card measuring 1.25 inches instead. You will need to make six of these smaller tassels.


Step 9 - After all the thread wrapping, you should end up with two longer tassels and six shorter ones. You can comb the tassels to separate the strands, but I chose not to. Lay them out so you are happy with your design (put the best looking tassels at the top!!).

Step 10 - From the spare skein, cut a length measuring 20 cm and double knot the end. Thread the needle and sew through the centre of the bottom tassel. Double knot the thread above the tassel to keep it in place.


Step 11 - Sew through the next tassel, it should be pushed down as far as it can go so it is touching the tassel below. Double knot the thread as before.

Step 12 - Repeat until all tassels have been strung, however instead of knotting the top, sew the earring hook firmly on by stitching through the metal loop a few times. When complete, stitch the thread through the tassel to anchor it, and trim the end so it blends with the other strands.
And, ta-da!

You have just made a gorgeous piece of on-trend jewellery for a fraction of the retail price. I'm totally in love with them and think they add a touch of je ne sais quoi to any outfit! Adapt this design to your own taste (fewer tassels, larger tassels, an ombré colour effect etc.) to make something totally unique to you.

Wow, these are so cute! Thank for the DIY!
ReplyDeleteCassandra Jane
http://earthappl.es
Thank you so much! I'm glad you liked it!
DeleteLove Emily xxx
This comment has been removed by the author.
ReplyDeleteWow, looks great and easy to make. Thanks for sharing each step with picture. Superb work!
ReplyDeletehttps://thechainhut.co.uk/